How to Set Up a PayPal Account in India (2026 Step-by-Step Guide)
Learn how to set up a PayPal account in India with this step-by-step guide. Compare Personal vs Business accounts, complete KYC, and start today.
How to Set Up a PayPal Account in India (2026 Complete Guide)
If you're planning to shop on international websites, travel abroad, work as a freelancer, or receive payments from overseas clients, PayPal is one of the easiest and most trusted payment platforms to use. However, creating a PayPal account in India is slightly different from other countries because of RBI regulations.
In this guide, you'll learn how to create a PayPal account in India, choose the right account type, complete KYC verification, link your bank account or card, and start using PayPal safely.
What is PayPal?
PayPal is a secure online payment platform that allows you to send and receive money internationally. It is accepted by millions of websites and businesses around the world.
In India, PayPal supports international transactions only. You can use it to:
Shop on international websites
Pay for online services
Receive payments from overseas clients (Business account)
Accept international business payments
Note: PayPal cannot be used for domestic money transfers within India.
Personal vs Business Account
Before creating your account, decide which account type best fits your needs.
Personal Account | Business Account |
|---|---|
Best for online shopping | Best for freelancers and businesses |
Make international payments | Receive international payments |
Link debit or credit cards | Link your Indian bank account |
Cannot receive business payments | Can receive payments from overseas clients |
Choose a Personal Account if:
You shop on international websites.
You travel abroad.
You only need to make online payments.
Choose a Business Account if:
You're a freelancer.
You sell products or services.
You receive payments from international clients.
You own a business or startup.
Documents You'll Need
Before starting, keep these documents ready.
For Personal Accounts
PAN Card
Aadhaar Card
Mobile number linked to Aadhaar
Email address
Debit or Credit Card
For Business Accounts
PAN Card
Aadhaar Card
Indian Bank Account
Business registration documents (depending on your business type)
GST, Udyam, IEC, Shop License, or other applicable business proof
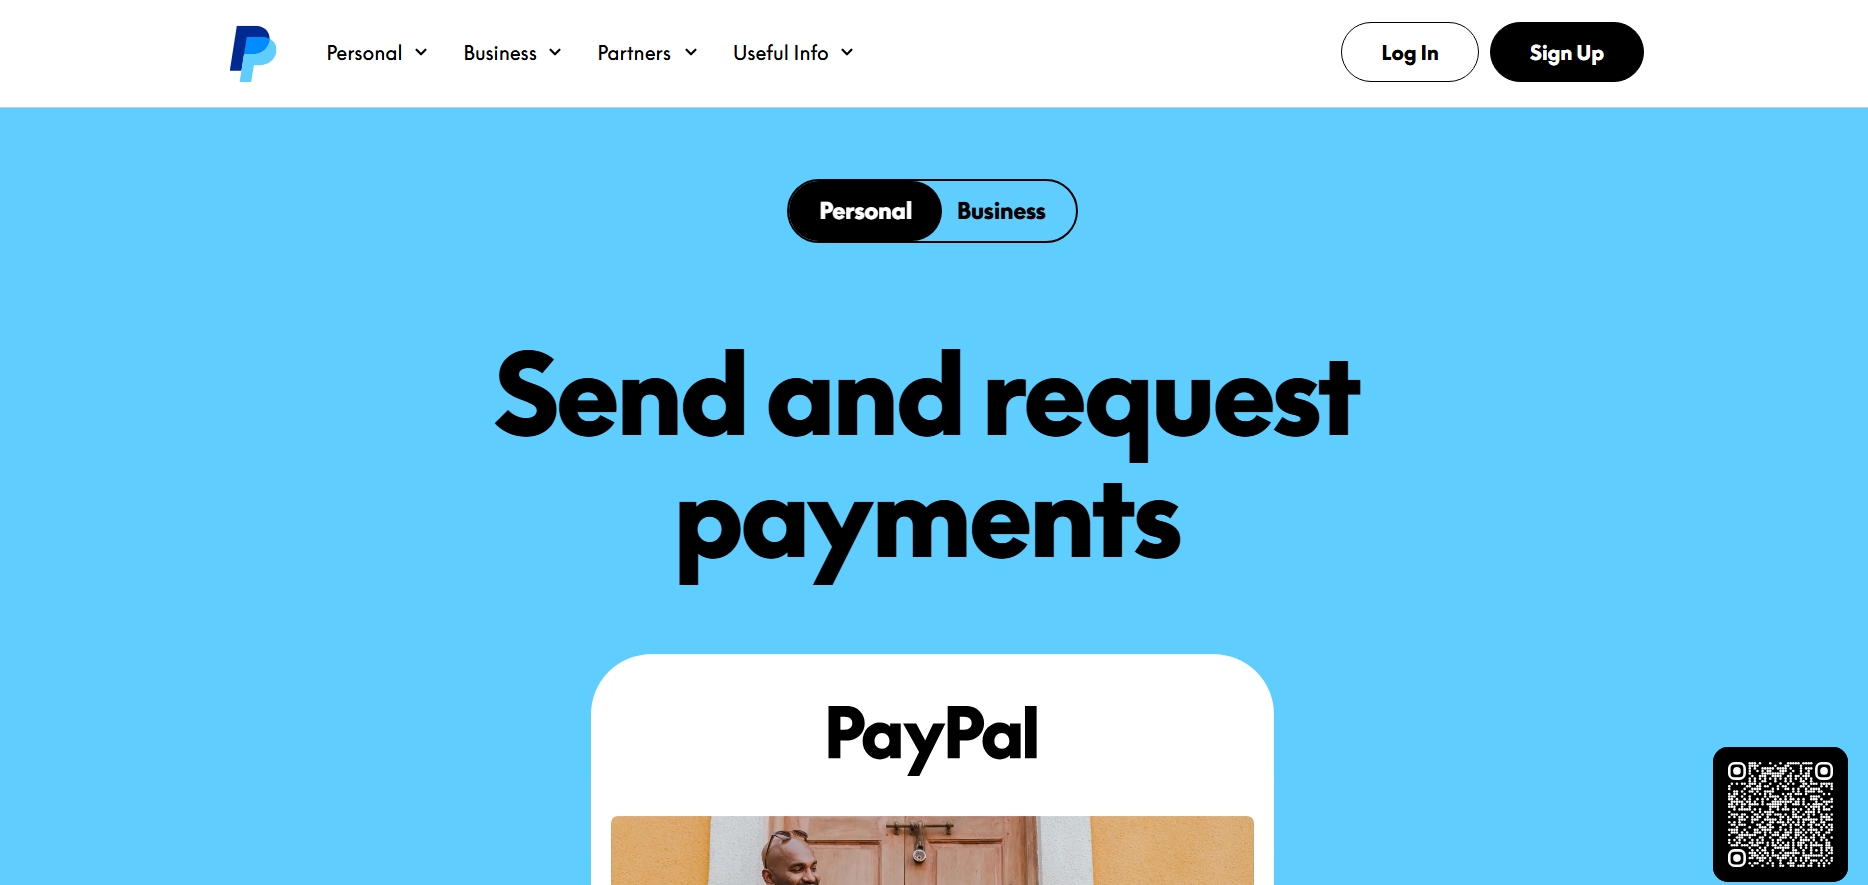
Step 1: Visit the PayPal Website
Open your browser and visit PayPal India.
Click Sign Up to begin creating your account.
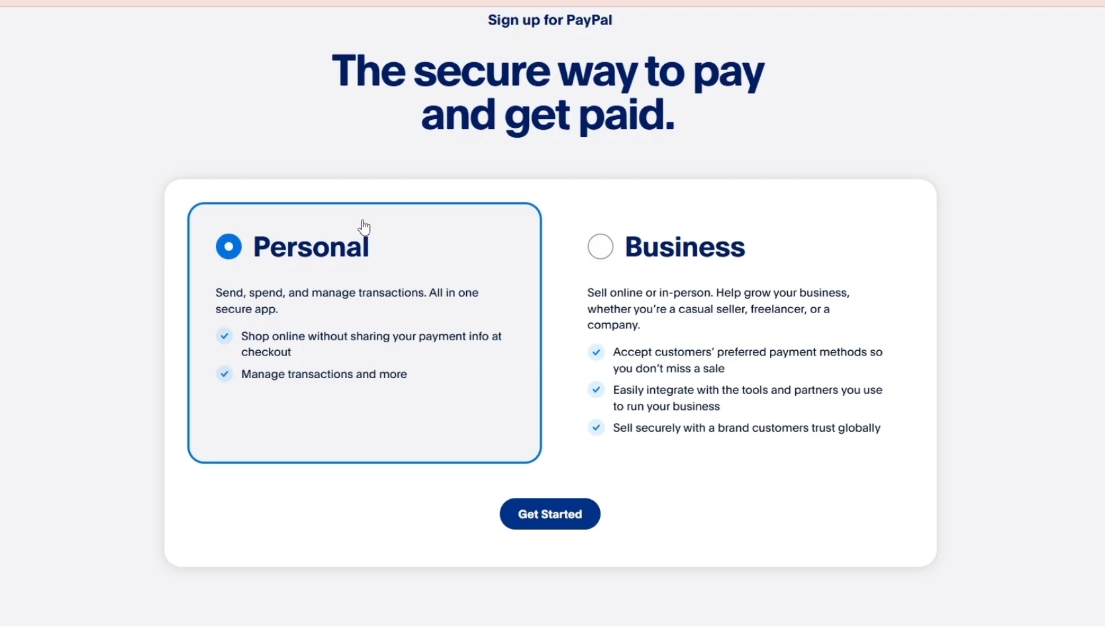
Step 2: Choose Your Account Type
Select either:
Personal
Business
Choose the account type based on how you plan to use PayPal.
If you're a freelancer or receive payments from clients outside India, always select Business Account.
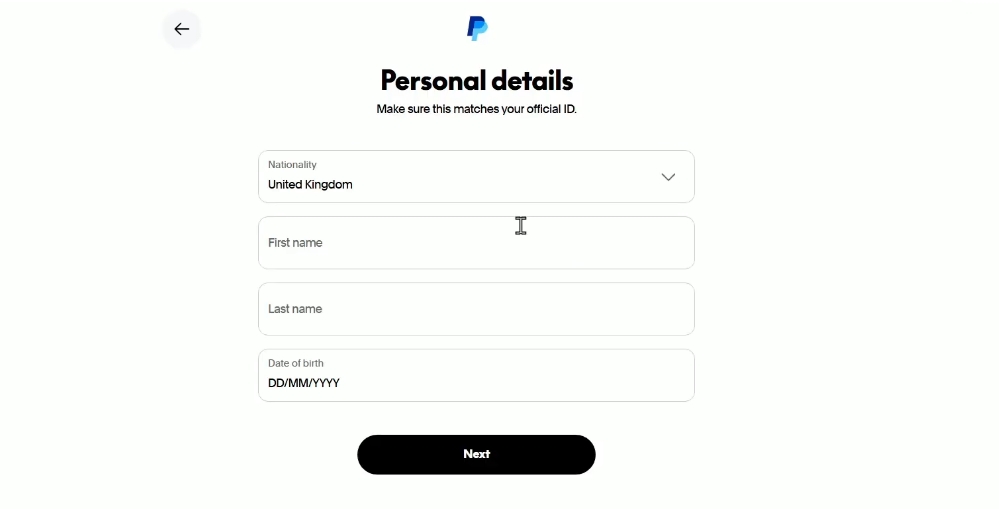
Step 3: Enter Your Details
Fill in the required information.
For a Personal Account:
Full Name
Email Address
Mobile Number
Password
Residential Address
For a Business Account:
Business Name
Business Email
Business Entity Type
PAN Details
Business Address
Double-check all information before continuing.
Important: Your name should exactly match your PAN card to avoid verification issues later.
Step 4: Verify Your Email Address
After registration, PayPal sends a verification email.
Open your inbox and click the Confirm Email Address button.
Your account will become active after email verification.
Step 5: Link Your Payment Method
Personal Account
Link your Debit, credit card or Bank account
Go to:
Wallet → Link a Debit or Credit Card
Enter:
Card Number
Expiry Date
CVV
Billing Address
PayPal may send an OTP to verify your card.
Business Account
Link your Indian Bank Account.
You'll need:
Account Number
IFSC Code
Account Holder Name
Your bank account should be registered under the same PAN as your PayPal account.
Step 6: Complete KYC Verification
To comply with RBI regulations, PayPal requires identity verification.
You'll be asked to verify:
PAN Card
Aadhaar
Identity Details
Depending on the verification process available for your account, PayPal may ask you to:
Verify through DigiLocker
Upload identity documents
Complete additional verification if required
Ensure that all uploaded documents are clear and the information matches your PayPal profile.
Step 7: Add a Purpose Code (Business Accounts)
If you're receiving international payments, PayPal may ask you to select a Purpose Code.
This code tells RBI the nature of your business, such as:
IT Services
Software Development
Digital Marketing
Consulting
E-commerce
Choose the code that best matches your business activity.
Your PayPal Account is Ready
After successful verification, your PayPal account will be activated.
Business users can now receive international payments, which are automatically transferred to their linked Indian bank account according to RBI regulations.
Personal users can start making secure payments on international websites using their linked card.
Tips for Faster Approval
Use the same name on your PAN, Aadhaar, bank account, and PayPal profile.
Upload clear, high-quality document images.
Keep your email address and mobile number active.
Complete any pending verification requests shown in your PayPal dashboard.
Link the correct bank account before receiving payments.
Frequently Asked Questions
Can I receive money with a Personal PayPal account?
No. In India, receiving international commercial payments generally requires a Business PayPal account.
Is PayPal free?
Creating a PayPal account is free. Transaction fees and currency conversion charges may apply depending on your usage.
How long does verification take?
Verification is usually completed within 1–3 business days, depending on the documents and verification requirements.
Can students create a PayPal account?
Yes. Anyone who meets PayPal's eligibility requirements and is at least 18 years old can create an account.
Final Thoughts
Setting up a PayPal account in India is straightforward once you choose the right account type and complete the required verification steps. Whether you're shopping internationally or receiving payments as a freelancer, PayPal provides a secure and reliable way to manage cross-border transactions.
Follow the steps in this guide, keep your documents ready, and complete the verification process carefully. Once approved, you'll be ready to send or receive international payments with confidence.
Written by
Jayesh Gavit
IT Engineer & Content Creator, JGblogs
IT engineer with a passion for technology and building things. Started JGblogs in 2026 to share information and make government schemes, jobs, and career guides accessible to every Indian — free, in their own language.
About the author →Article
Related articles
How to Apply for a Voter ID Card Online in 2026: Step-by-Step Guide for New Voters
4 June 2026·1,250 views